Python Doctests with PyCharm are very easy to configure! This tutorial will show you – how easy you can configure and run your Doctests inside PyCharm CE. You can use the following pyton script.
#!/usr/bin/env python
# -*- coding: utf-8 -*-
"""
This is an example for python doctest inside module docstring

>>> add('i', 'i')
Traceback (most recent call last):
    ...
TypeError: can't multiply sequence by non-int of type 'str'

"""


def add(a, b):
    """
    This is an example for python doctest inside function docstring

    >>> add(2, 3)
    6
    >>> add('a', 3)
    'aaa'
    """
    return a * b


class SomeTest(object):
    """
    This is an example for python doctest inside class docstring

    >>> t = SomeTest(); t.add(2, 'b'); t.sum
    'bb'
    """

    def __init__(self):
        """
        This is an example for python doctest inside constructor docstring

        >>> t = SomeTest(); type(t.sum)
        <type 'int'>
        """
        self.sum = int()

    def add(self, a, b):
        """
        This is an example for python doctest inside method docstring

        >>> t = SomeTest(); t.add(5, 5); t.sum
        25
        >>> t = SomeTest(); t.add('a', 5); t.sum
        'aaaaa'
        """
        self.sum = a * b
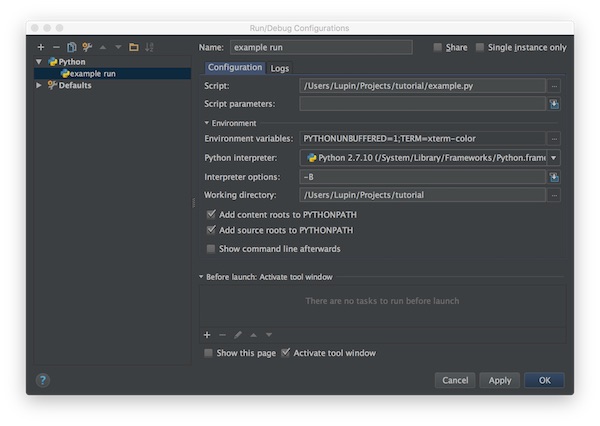
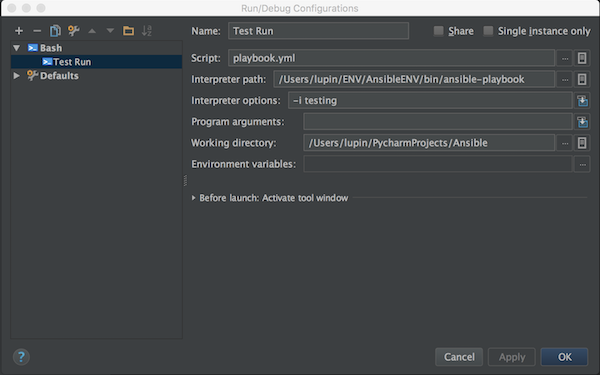
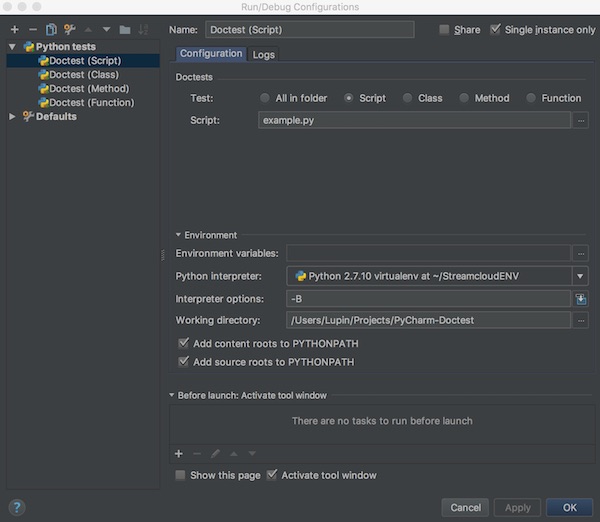
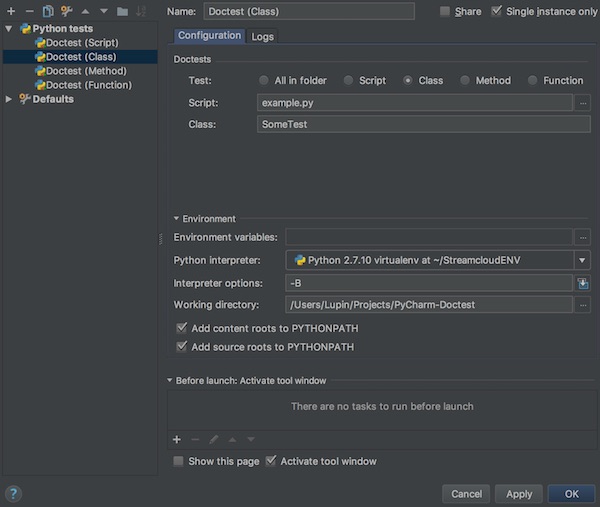
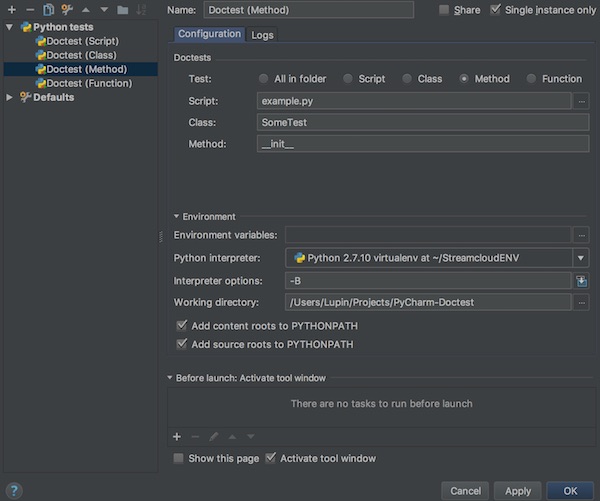
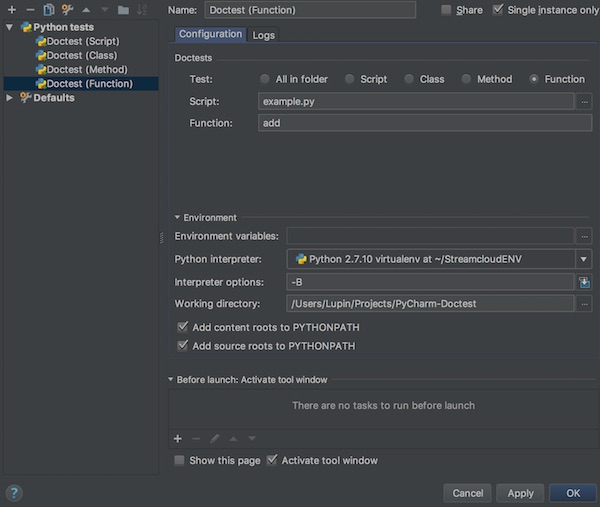
Now create following Doctests for Script, Class, Method and Function.
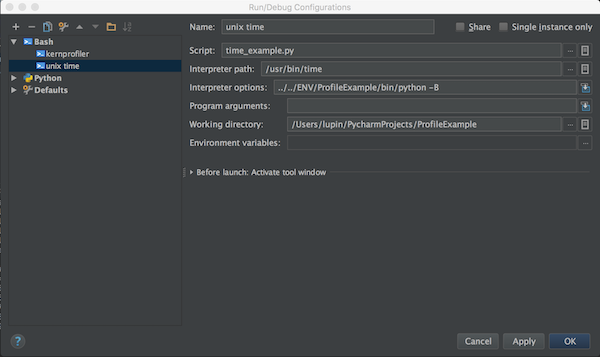
Script
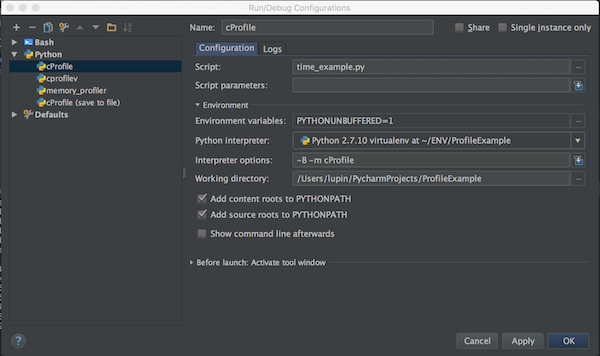
Class
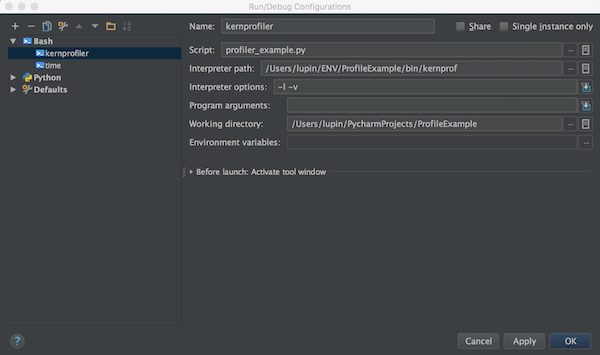
Method
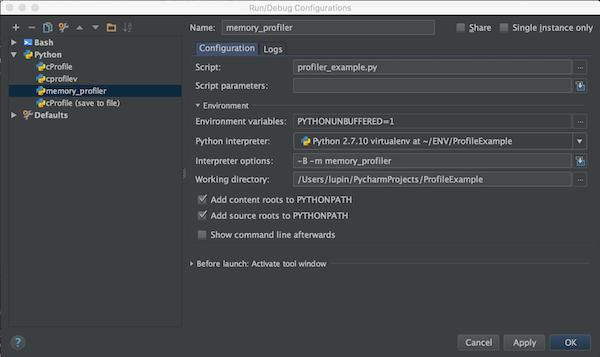
Function
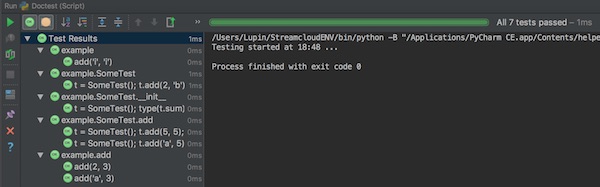
Now you can run your different doctests and look on results.