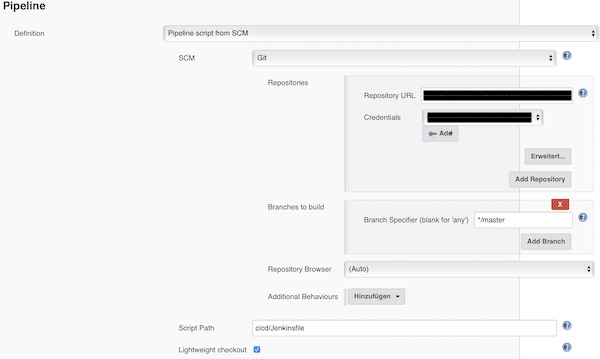
In previous tutorial I showed you how to create the environment and how to implement the build steps for Jenkins pipeline. Now I will show you to setup the deploy step.
Preconditions
AWS ECS Cluster
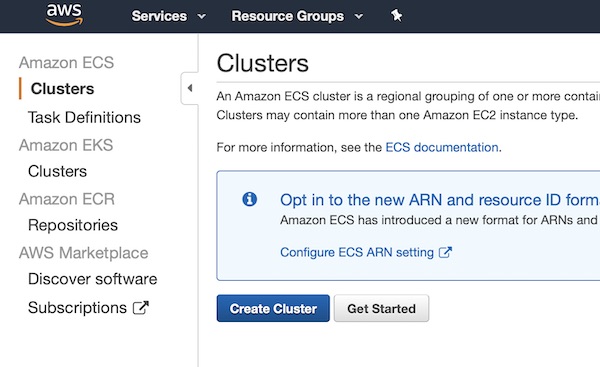
Create a very small AWS ECS cluster in region “Frankfurt” (eu-central-1). Therefore enter Amazon ECS Clusters and press button “Create Cluster”.
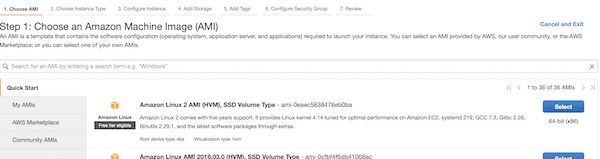
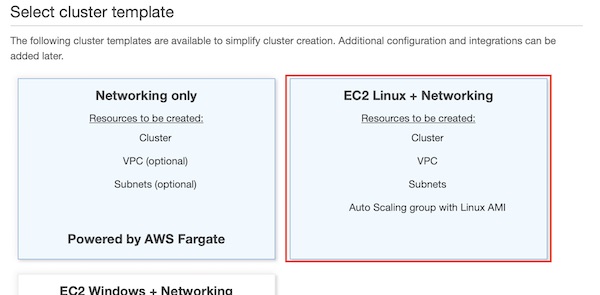
Select template “EC2 Linux + Networking” and continue to next step.
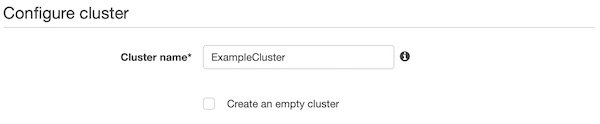
On section “Configure cluster” you give a name like “ExampleCluster”.
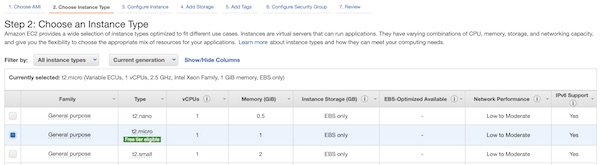
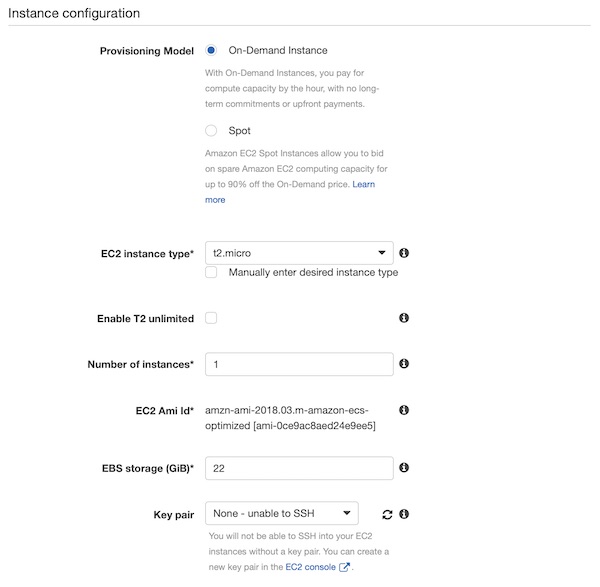
On section “Instance configuration” select “On-Demand Instance”, “t2.micro”, “1”, “22” and “None – unable to SSH”.
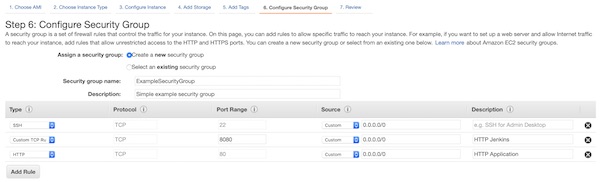
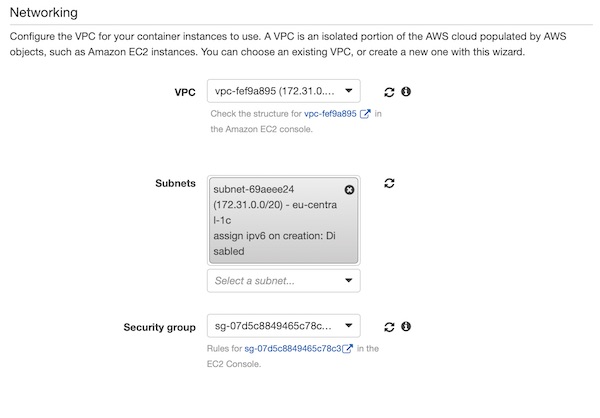
In the section “Networking” you have to be careful now. Your values will be different from mine! Under VPC, select the same value as for the EC2 Jenkins instance (I selected default VPC). Now you can choose one of the subnets. We created the security group together with the EC2 Jenkins instance, so select “ExampleSecurityGroup” here.
Okay, press button “Create” and wait till the cluster is created. The cluster creation can take a while, so please be patient.
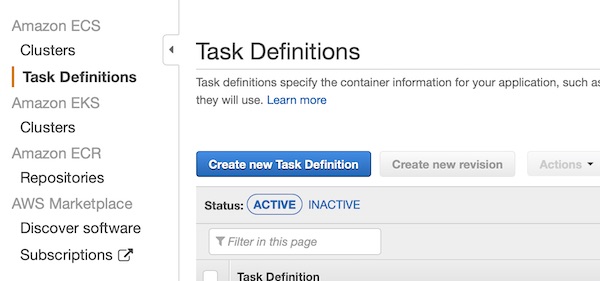
AWS ECS Task Definition
The cluster is running and the “Task Definition” can be created. So press button “Create new Task Definition”.
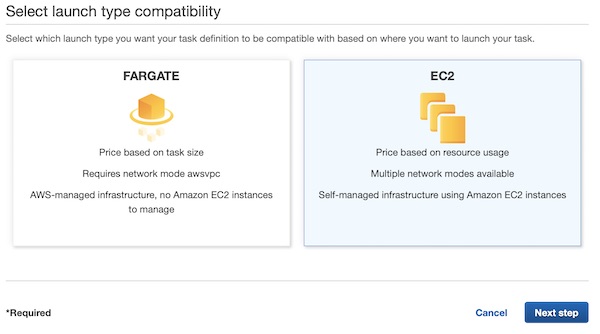
Select “EC2” on page launch type compatibility and press button “Next step”.
On section “Configure task and container definitions” set value “ExampleTask” for input field “Task Definition Name” and for “Network Mode” select “<default>”.

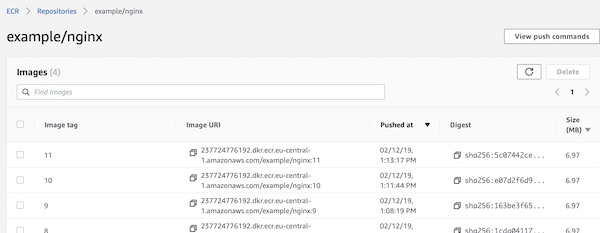
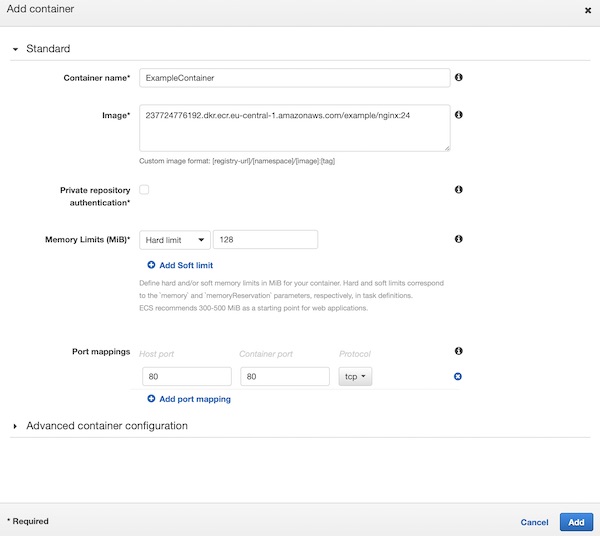
On section “Container Definition” press button “Add Container”. A new window will slide in. Here give the “Container name” value “ExampleContainer”, add under image your latest version from ECR (my latest is 24). Set values “128” for “Memory Limits (MiB)”, “80:80” for “Port mappings” and press button “Add”.
You are done with your task definition configuration, scroll down and press button “Create”.
AWS IAM
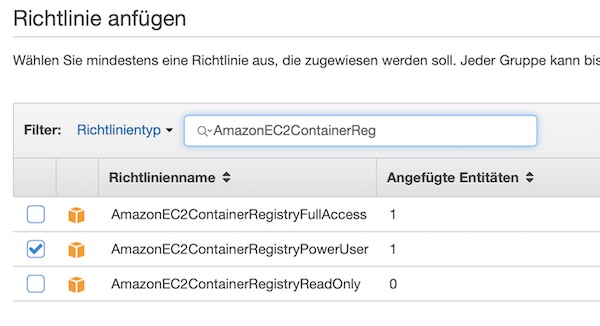
Before we can go through the next steps, we need to adjust the group policy for “PipelineExampleGroup”. You must add the “AmazonECS_FullAccess” policy. _For our example this is okay, but never use this policy in production!_

Run task on ECS cluster (via Jenkins)
Now you only need to modify two files in your repository. Replace the content of “deploy.sh” and “Jenkinsfile” with following contents.
pipeline {
agent any
parameters {
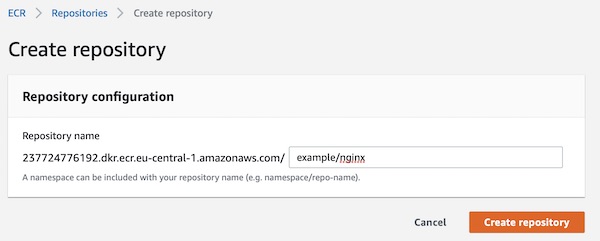
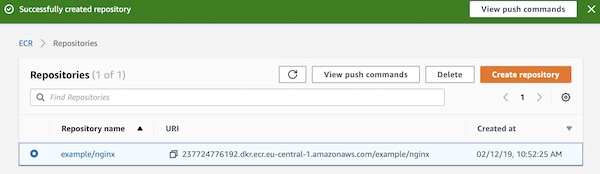
string(name: 'REPONAME', defaultValue: 'example/nginx', description: 'AWS ECR Repository Name')
string(name: 'ECR', defaultValue: '237724776192.dkr.ecr.eu-central-1.amazonaws.com/example/nginx', description: 'AWS ECR Registry URI')
string(name: 'REGION', defaultValue: 'eu-central-1', description: 'AWS Region code')
string(name: 'CLUSTER', defaultValue: 'ExampleCluster', description: 'AWS ECS Cluster name')
string(name: 'TASK', defaultValue: 'ExampleTask', description: 'AWS ECS Task name')
}
stages {
stage('BuildStage') {
steps {
sh "./cicd/build.sh -b ${env.BUILD_ID} -n ${params.REPONAME} -e ${params.ECR} -r ${params.REGION}"
}
}
stage('DeployStage') {
steps {
sh "./cicd/deploy.sh -b ${env.BUILD_ID} -e ${params.ECR} -c ${params.CLUSTER} -t ${params.TASK}"
}
}
stage('TestStage') {
steps {
sh "./cicd/test.sh"
}
}
}
}#!/usr/bin/env bash
## shell options
set -e
set -u
set -f
## magic variables
declare ECR
declare CLUSTER
declare TASK
declare BUILD_NUMBER
declare -r -i SUCCESS=0
declare -r -i NO_ARGS=85
declare -r -i BAD_ARGS=86
declare -r -i MISSING_ARGS=87
## script functions
function usage() {
local FILE_NAME
FILE_NAME=$(basename "$0")
printf "Usage: %s [options...]\n" "$FILE_NAME"
printf " -h\tprint help\n"
printf " -e\tset ecr repository uri\n"
printf " -c\tset esc cluster name uri\n"
printf " -t\tset esc task name\n"
printf " -b\tset build number\n "
}
function no_args() {
printf "Error: No arguments were passed\n"
usage
exit "$NO_ARGS"
}
function bad_args() {
printf "Error: Wrong arguments supplied\n"
usage
exit "$BAD_ARGS"
}
function missing_args() {
printf "Error: Missing argument for: %s\n" "$1"
usage
exit "$MISSING_ARGS"
}
## check script arguments
while getopts "he:c:t:b:" OPTION; do
case "$OPTION" in
h) usage
exit "$SUCCESS";;
e) ECR="$OPTARG";;
c) CLUSTER="$OPTARG";;
t) TASK="$OPTARG";;
b) BUILD_NUMBER="$OPTARG";;
*) bad_args;;
esac
done
if [ "$OPTIND" -eq 1 ]; then
no_args
fi
if [ -z "$ECR" ]; then
missing_args '-e'
fi
if [ -z "$CLUSTER" ]; then
missing_args '-c'
fi
if [ -z "$TASK" ]; then
missing_args '-t'
fi
if [ -z "$BUILD_NUMBER" ]; then
missing_args '-b'
fi
## run main function
function main() {
local TASK_ARN
local TASK_ID
local ACTIVE_TASK_DEF
local TASK_DEFINITION
local TASK_DEF_ARN
# list running task
TASK_ARN="$(aws ecs list-tasks --cluster "$CLUSTER" --desired-status RUNNING --family "$TASK" | jq -r .taskArns[0])"
TASK_ID="${TASK_ARN#*:task/}"
# stop running task
if [ -n "$TASK_ID" ] && [ "$TASK_ID" != "null" ]; then
printf "INFO: Stop Task %s\n" "$TASK_ID"
aws ecs stop-task --cluster "$CLUSTER" --task "$TASK_ID"
fi
# list active task definition
ACTIVE_TASK_DEF="$(aws ecs list-task-definitions --family-prefix "$TASK" --status ACTIVE | jq -r .taskDefinitionArns[0])"
# derigister task definition
if [ -n "$ACTIVE_TASK_DEF" ]; then
printf "INFO: Deregister Task Definition %s\n" "$ACTIVE_TASK_DEF"
aws ecs deregister-task-definition --task-definition "$ACTIVE_TASK_DEF"
fi
# read task definition template
TASK_DEFINITION=$(cat ./cicd/task_definition.json)
# create new task definition file
TASK_DEFINITION="${TASK_DEFINITION/URI/$ECR}"
echo "${TASK_DEFINITION/NUMBER/$BUILD_NUMBER}" > ecs_task_definition.json
# register new task definition
TASK_DEF_ARN="$(aws ecs register-task-definition --cli-input-json file://ecs_task_definition.json | jq -r .taskDefinition.taskDefinitionArn)"
# run task by task definition
aws ecs run-task --task-definition "$TASK_DEF_ARN" --cluster "$CLUSTER"
}
main
# exit
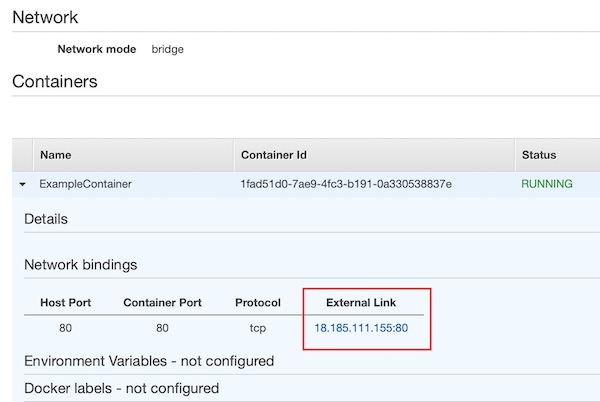
exit "$SUCCESS"Commit your changes and wait for build trigger (or trigger manually). After successful deployment, your ECS cluster will have a running task now. On section “Container” you can see the link.
Every time when you modify files and commit them into your Git repository, the pipeline will be triggered and latest version will be visible in browser.
That’s it with this part of the series. Cu soon in next part.