After you receive your new Shark Jack device from Hak5, you need to upgrade the Firmware. This tiny tutorial will guide you through the process. You should plan a maximum of 10 minutes of your life for this action.
Preparation
Enable the Arming mode (middle switch position) and connect with your RJ45 interface, also connect USB-C for charging. Do not stop charging while the whole upgrade process! In case your local device does not provide such interface, I have really good experience with the multiport adapter from SATECHI.
Download and install latest Firmware
The default settings for your new Shark Jack are:
- IP: 172.16.24.1 (Arming mode)
- User: root
- Password: hak5shark
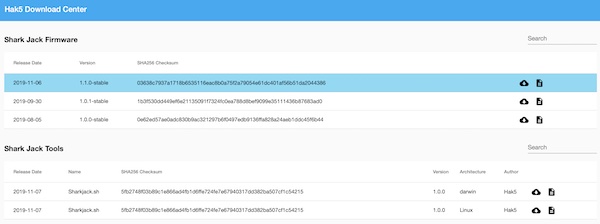
Download latest Shark Jack Firmware from here.

# download Firmware (via command line)
$ curl -L -C - https://downloads.hak5.org/api/devices/sharkjack/firmwares/1.1.0-stable -o ~/Downloads/upgrade-1.1.0.bin

# verify SHA256 checksum (optional)
$ shasum -a 256 ~/Downloads/upgrade-1.1.0.bin

# copy Firmware from local to Shark Jack device
$ scp -C4 ~/Downloads/upgrade-1.1.0.bin root@172.16.24.1:/tmp/

# SSH into SharkJack device
$ ssh -C4 root@172.16.24.1

# list directory content (optional)
root@shark:~# ls -la

# show current version
root@shark:~# cat VERSION
1.0

# start update
root@shark:~# sysupgrade -n /tmp/upgrade-1.1.0.bin
Now be patient and do not remove the Shark Jack from RJ45 or the USB-C for charging! The device installs the new firmware and reboots. For me it was around 3 – 4 minutes.
# check interface status (optional)
$ ifconfig

# SSH into Shark Jack device
$ ssh -C4 root@172.16.24.1

# show current version
root@shark:~# cat VERSION
1.1.0
That’s it … have fun and success.