Nessus is a vulnerability scanner from Tenable. In this tutorial I will show how you can install Nessus on AWS (Debian), how you connect your local browser and perform a simple network scan. You need only a AWS account (eq Free Tier), SSH and a web browser.
Note: Please have a look on that page about pentesting on AWS first.
Create new EC2 instance
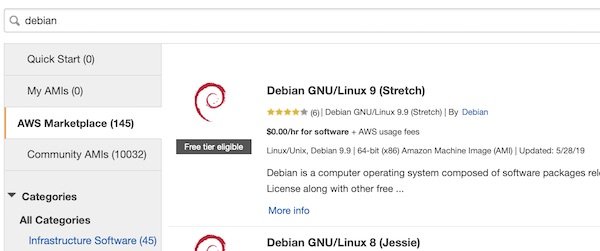
Login into your AWS console (or use AWSCLI), create a new SecurityGroup with SSH port 22 only (inbound) and launch a new instance. Search for “Debian”…

Press button “Select” and finish all needed following steps (save your keys). After your EC2 instance is ready check for IP or DNS and connect.
# connect via SSH to EC2 instance
$ ssh -i ~/.ssh/ admin@<instance>

# compile a list of locale definition files (optional)
$ sudo locale-gen UTF-8
Install Nessus
Open download page and select latest version for Debian (as I wrote this tutorial it was Nessus-8.5.1-debian6_amd64.deb). Confirm and download. Via SCP, in new terminal, you can upload the file to your EC2 instance.
# copy file from local to remote
$ scp -i ~/.ssh/ ~/Downloads/Nessus-8.5.1-debian6_amd64.deb  admin@<instance>:/tmp
Back to instance terminal … Now install and start Nessus.
# install package
$ sudo dpkg -i /tmp/Nessus-8.5.1-debian6_amd64.deb

# start Nessus
$ sudo /etc/init.d/nessusd start
Use Nessus
To make our life easier, we will create a simple SSH port-forward.
# create port-forwarding
$ ssh -i ~/.ssh/ -L 8834:127.0.0.1:8834 admin@<instance>

# open browser
$ open https://localhost:8834
Now you can open your favourite browser with URL: https://localhost:8834.

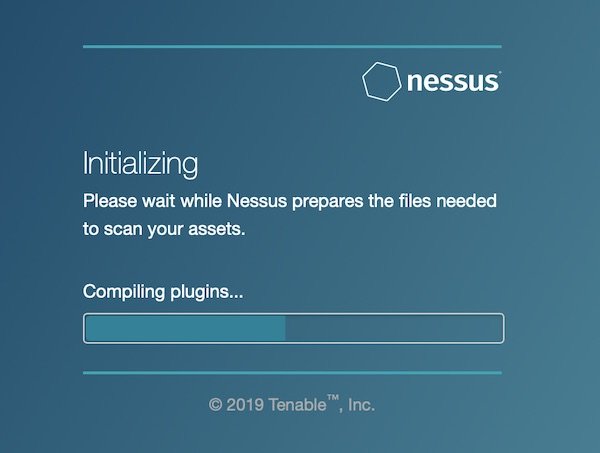
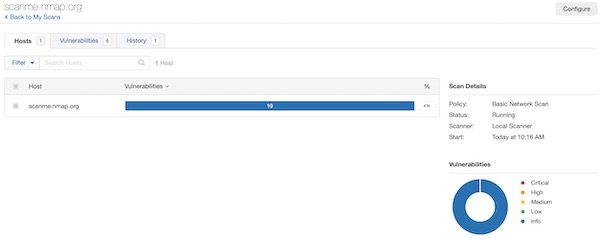
When the initialization has been completed successfully, login and create a new scan. Select “Basic Network Scan” and add URL: http://scanme.nmap.org. Select “Basic Network Scan” and “Port scan (common ports)” for scan settings. Save and start your created scan. Please be patient, the scan will take a while.

Create a scan report
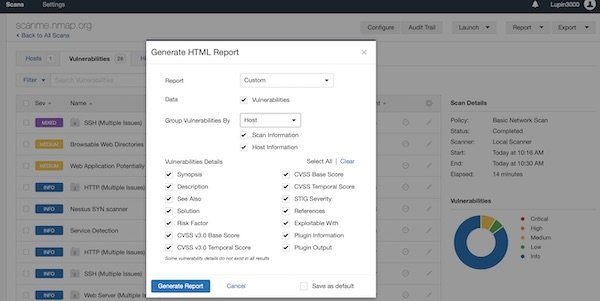
After a while, the scan is complete. Now you can create a “Custom” report. BTW … feature is only available for completed scans. So select “Export” – “Custom” and generate the report.
