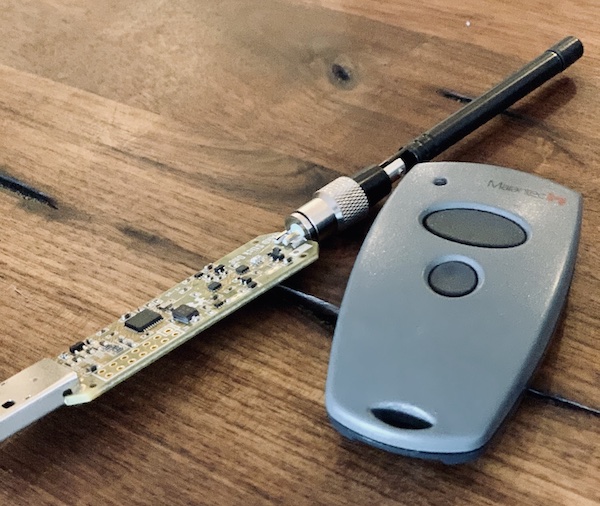
In my last tutorial, I showed you how to install RfCat and the ooktools on your macOS, as I promised to go into more detail on the ooktools later – I want to keep this promise now.
Requirements
- RfCat installed
- ooktools installed
- jq installed (optional)
- you own a Yard Stick One (or any rfcat compatible device)
- you own a Garage Door opener (or similar device)
Objective
Learn and understand the ooktools sub command ‘signal’.
ooktools signal
The ooktools offers many great features (look at the command line help)! In this tutorial I will focus on signal search, signal record, signal plot and signal play.
# show sub command signal help
$ python2.7 -m ooktools.console signal --help
...
Usage: console.py signal [OPTIONS] COMMAND [ARGS]…

Signal Commands.

Options:
--help  Show this message and exit.

Commands:
brute   Bruteforce a binary range.
jam     Jam a frequency by just sending noise.
play    Play frames from a source file.
plot    Plot frames from a recorded signal.
record  Record frames to a file.
search  Search for signals.
send    Send signals using a RFCat dongle.
Search a signal

My garage door opener has information about the frequency (868.3 MHz) on the back, which makes my search a little easier! If this is not the case for you, search for the FCC identifier.
If you have a rough idea about the frequency (and other values), look in the signal search help and compare all standard values with your needs! You only have to overwrite the values which do not match (as arguments).
# show help for signal search
$ python2.7 -m ooktools.console signal search --help

# search signal in specific range
$ python2.7 -m ooktools.console signal search -S 868200000 -E 868400000
Note: Only signal search throws sometimes an Python/USB exception on my OS (after finish the search), all other commands work perfectly. If you have the same problem, reconnect the USB device (Yard Stick One)!
Record a signal
Now run the signal record. Go the same way like you did for the signal search! First look at the sub command help, overwrite the default values and run the command.
# show help for signal record
$ python2.7 -m ooktools.console signal record --help

# start a signal record
$ python2.7 -m ooktools.console signal record -F 868300000 -f 60 -D  ~/Desktop/test.json
After the signal record is finished, you can have a look on the JSON file.
# view file content and pipe output to jq (optional)
$ cat ~/Desktop/test.json | jq .
Plot the recorded signal
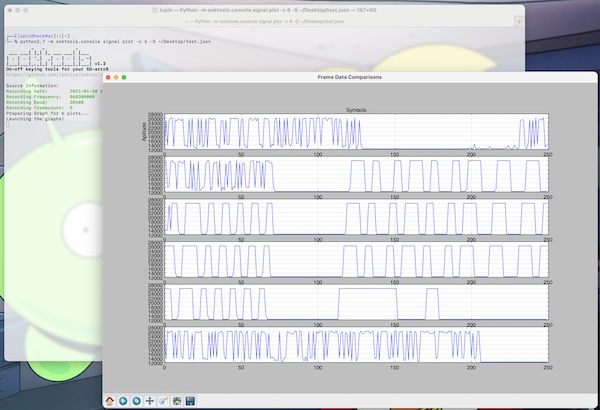
With signal plot you can easily create and watch frames from a recorded signal (json file). The help shows you the possible fine adjustments for the plot output. I have recorded 9 Frames, maybe that differs for you!
# show help for signal plot
$ python2.7 -m ooktools.console signal plot --help

# plot a signal record (number of frames)
$ python2.7 -m ooktools.console signal plot -c 6 -S ~/Desktop/test.json
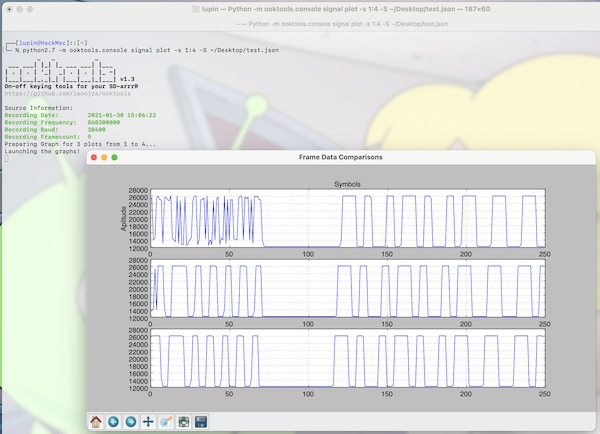
To specify the plot you can use sub command agrument --series.
# plot a signal record (series of fields)
$ python2.7 -m ooktools.console signal plot -s 1:4 -S ~/Desktop/test.json
Play a signal
It’s time to try. For that I have to walk a long way to the parking garage gate (I usually drive this route). For signal play sub command only two arguments are needed (source & repeats).
# show help for signal play
$ python2.7 -m ooktools.console signal play --help

# play a signal record
$ python2.7 -m ooktools.console signal play -r 2 -S ~/Desktop/test.json
I did not modify the record file, just run all recorded frames for 2 times. If you are wondering if this worked for me? No – the signal is sent too quickly this way. The gate doesn’t open like this. With tools like GQRX / URH & HackRF One I was able to compare the signals. So some fine-tuning is needed (baud rate/modulation/etc.). Nevertheless, you should have got a good overview of the ooktools.

