In a previous tutorial, I showed you how to setup a insecure Docker registry. Now we will use HTTPS via certificates from Let’s Encrypt and without some insecure registry settings.
Order dedicated host
If you have a host already, skip this section. If you looking for an good and cheap dedicated host, have a look on Dedibox.
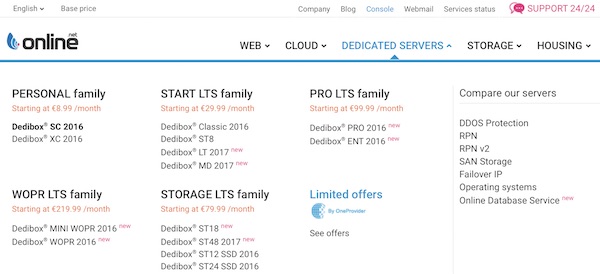
After successful order you can start to install CentOS (Server distributions).
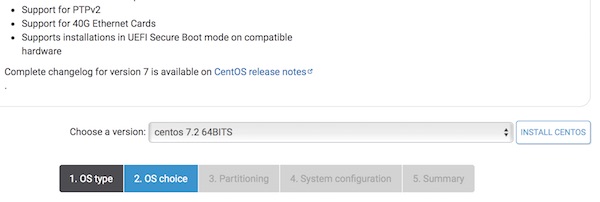
When the OS installation is done, please take care for security! On tecmint.com you can find some cool guides “The Mega Guide To Harden and Secure CentOS 7“. On official Docker docs you will found all needed steps for your Docker CE installation.
Register and configure free domain
Let’s Encrypt need a domain! Register on Freenom and order new domain for free (.tk, .ml, .ga, .cf, .gq). If you have a domain already, skip this section.
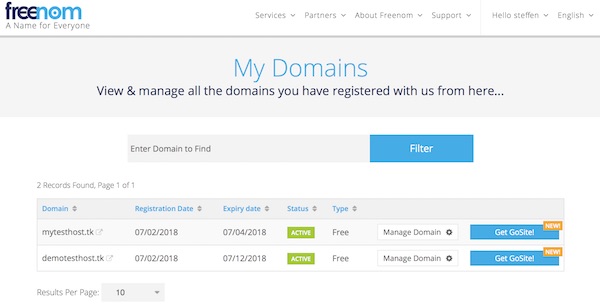
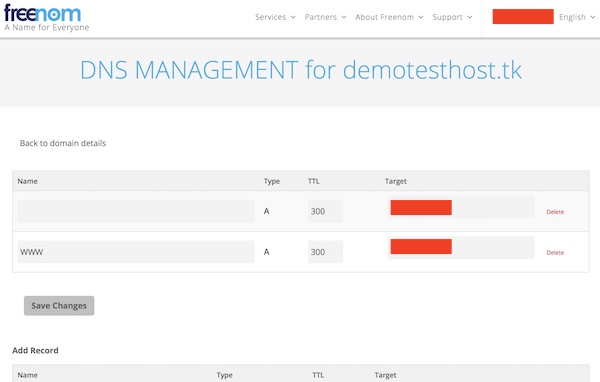
Ensure your dns is configured correctly!
Create new Let’s Encrypt certificates
Login into your host via SSH and follow next steps. Attention, replace “demotesthost.tk” by your own domain!
# install epel-release
$ yum install -y epel-release

# install certbot
$ yum install -y certbot

# show default configuration
$ firewall-cmd --list-all

# open firewall ports 80, 443
$ firewall-cmd --permanent --add-port=80/tcp
$ firewall-cmd --permanent --add-port=443/tcp

# reload firewall
$ firewall-cmd --reload

# create needed certificates
$ certbot certonly --standalone --email admin@demotesthost.tk -d demotesthost.tk

# close firewall port 80
$ firewall-cmd --permanent --remove-port=80/tcp

# reload firewall
$ firewall-cmd --reload

# list certificates (optional)
$ ls -lahG /etc /letsencrypt/archive/demotesthost.tk/

# create new directory
$ mkdir -p /opt/certs

# copy needed certificates
$ cp /etc /letsencrypt/archive/demotesthost.tk/cert1.pem /opt/certs/
$ cp /etc /letsencrypt/archive/demotesthost.tk/privkey1.pem /opt/certs/

# list certificates (optional)
$ ls -la /opt/certs/
...
-rwxrwxrwx  1 root root 1797 Feb 27 17:17 cert1.pem
-rwxrwxrwx  1 root root 1704 Feb 27 17:17 privkey1.pem
Note: The space after /etc is just because of security settings by my provider!
Run your Docker registry
# search for image (optional)
$ docker search registry
NAME              DESCRIPTION                                     STARS     OFFICIAL   AUTOMATED
registry          The Docker Registry 2.0 implementation for s…   1853      [OK]
...

# download and run container
$ docker run -d \
  --restart=always \
  --name registry \
  -v /opt/certs:/certs \
  -e REGISTRY_HTTP_SECRET=test1234 \
  -e REGISTRY_HTTP_ADDR=0.0.0.0:5000 \
  -e REGISTRY_HTTP_TLS_CERTIFICATE=/certs/cert1.pem \
  -e REGISTRY_HTTP_TLS_KEY=/certs/privkey1.pem \
  -p 443:5000 \
  registry:2

# check logs (optional)
$ docker logs -f registry

# check container (optional)
$ docker ps -a

# connection test from local to host (optional)
$ curl -v https://demotesthost.tk/v2/_catalog
Now it’s time for push and pull a images
# pull small alpine image
$ docker pull alpine

# tag alpine image
$ docker tag alpine demotesthost.tk/myalpine

# push image to registry (try)
$ docker push demotesthost.tk/myalpine
The push refers to repository [demotesthost.tk/myalpine]
Get https://demotesthost.tk/v2/: x509: certificate signed by unknown authority

# download needed certs
$ curl -O https://letsencrypt.org/certs/isrgrootx1.pem
$ curl -O https://letsencrypt.org/certs/lets-encrypt-x3-cross-signed.pem

# open directory in Finder
$ open .
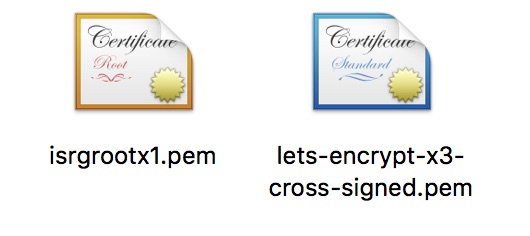
After download and open Finder, you should see similar files.
Simply install both CA certificates via double-click.
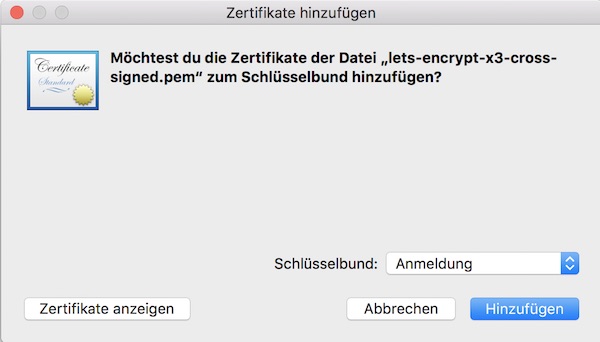
Optional you can check via “Keychain Access.app”.

Now restart local docker and try again.
# push image
$ docker push demotesthost.tk/alpine

# check repositories via curl (optional)
$ curl https://demotesthost.tk/v2/_catalog
{"repositories":["alpine"]}

# check image tags via curl (optional)
$ curl https://demotesthost.tk/v2/alpine/tags/list
{"name":"alpine","tags":["latest"]}

# delete local images
$ docker rmi alpine
$ docker rmi demotesthost.tk/alpine

# pull image from your registry
$ docker pull demotesthost.tk/alpine
… next steps
So what about authentication? Currently everybody can upload/download images! What that means for security, should be clear. Please read the Docker docs about.
