MG made something really cool (and dangerous too) to perform keystroke injection attacks (via Rubber Ducky scripts) simply over wireless interface. In this tutorial I want to show you the first important steps before you can start the penetration testing. The cables, programmer and other awesome MG products are available from Hak5.
Important: You should own (or buy) at least one O.MG Cable Programmer, otherwise you will not be able to follow the steps below!
Preparation
First check whether Python 3.7 (or higher) and pyserial (incl. dependencies) is installed. It is already pre-installed in my Kali Linux.
# check python version
$ python3 --version
Python 3.8.6

# check for python package
$ pip3 freeze | grep 'pyserial'
pyserial==3.5b0
If you still need to install the necessary packages.
# install needed python package(s)
$ sudo pip3 install pyserial
Download the latest O.MG Firmware (incl. needed scripts/binaries) now.
# download latest Firmware via CURL
$ curl -L -C - https://github.com/O-MG/O.MG_Cable-Firmware/releases/download/v1.5.3/O.MG_Cable-Firmware-v1.5.3.zip -o ~/Downloads/O.MG_Cable-Firmware-v1.5.3.zip

# unzip archive
$ unzip ~/Downloads/O.MG_Cable-Firmware-v1.5.3.zip -d ~/Downloads/

# list content (optional)
$ ls -la ~/Downloads/O.MG_Cable-Firmware-v1.5.3/

# list physical USB device hierarchy (optional)
$ lsusb
Install Firmware
Now plug the O.MG programmer into your computer and the O.MG cable into the programmer. This can be a bit more difficult at first, so be careful not to destroy everything right away. Even when pulling out – Treat it like a beautiful woman.
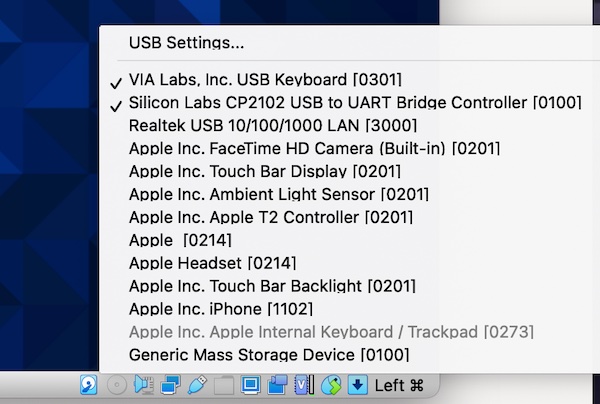
Note: If you are running Kali Linux as VM (e.g. VirtualBox), passthrough needed USB devices.

Change into directory O.MG_Cable-Firmware-v1.5.3 and set the file permissions for file flash.py and start the Firmware configuration and setup.
# list physical USB device hierarchy (optional)
$ lsusb

# run python script
$ sudo python3 ./flash.py
Caution: If you see the following output (or similar) Connecting........_____..... but flashing the firmware ends with an error – means that the programmer was recognized correctly but the cable was not. Remove the cable and plug it in again. In addition, the cable needs a reset after every firmware flash.
If everything works (which is the normal case) you will be asked in which mode (AP or STA) the wifi should work. In my example, I am using for this tutorial the Access Point (AP) mode. So I’ll set the SSID as well as wifi credentials. You can later access with any modern browser via URL http://192.168.4.1. Whether you need AP or STA mode depends on your environment and your attack vector. But try to get to know both as well as their respective advantages and disadvantages.
SELECT WIFI MODE ...: 2
ENTER WIFI SSID ...: OMGtest
ENTER WIFI PASS ...: test12345
Confirm your entries and wait a moment. An overview is displayed (do not forget the password).
Flash Operation Complete!

[ WIFI SETTINGS ]
  WIFI_SSID: OMGtest
  WIFI_PASS: test12345
  WIFI_MODE: 2
  WIFI_TYPE: ACCESS POINT

[ FIRMWARE USED ]
  INIT: firmware/esp_init_data_default_v08.bin
  ELF0: firmware/image.elf-0x00000.bin
  ELF1: firmware/image.elf-0x10000.bin
  PAGE: firmware/page.mpfs

<<< PROCESS FINISHED, REMOVE PROGRAMMER >>>
Press Enter to continue...
That was done super quickly and easily. Now pull the cable out of the programmer and you can start.