The newer versions of Docker for Mac actually bring everything for the use of Kubernetes. Since the current documentation is not so optimal, I try it in my own way. Since I plan to further testing tutorials on this topic, this guide will serve as a basis.
Preparation
Kubernetes is currently only supported via Docker Edge. Caution, if you switch from stable to edge all Docker images and containers will be deleted! If you are already using the Edge version, skip the following steps 1 till 3.
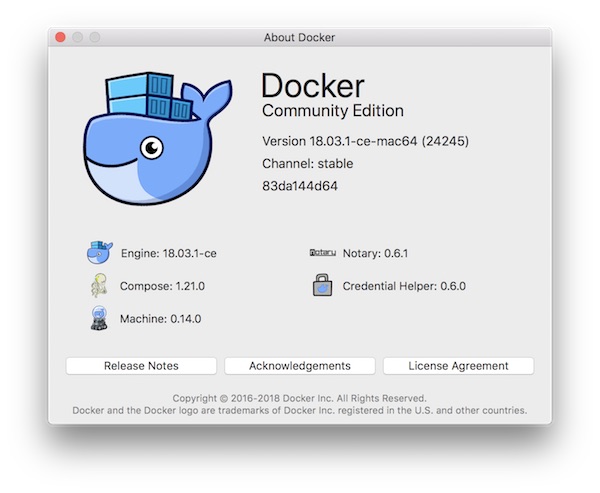
- Download Docker for Mac Edge Version… You can exit Docker for Mac while downloading.
- After successful download of DMG start the installation (Replace the old version).
- Start Docker and follow the instructions.
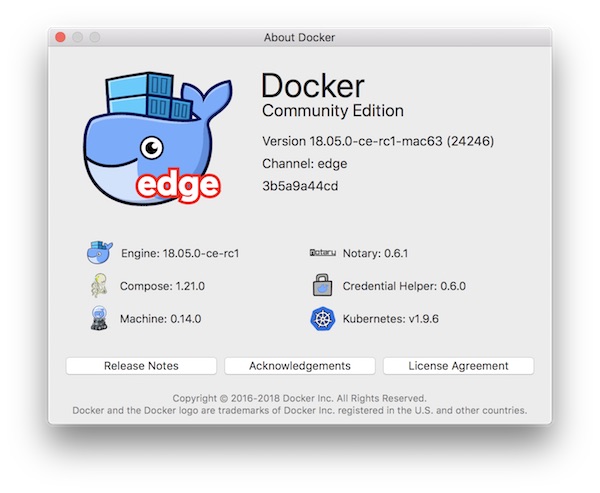
- Activate Kubernetes now via “Enable Kubernetes” checkbox and install the Kubernetes cluster. This can take a while, do not lose your patience!
- When the installation is finished you can check it.

Note, if you have already used minikube, you should now switch the cluster. You can switch between clusters at any time via GUI or command-line.
# show kubectl version
$ kubectl version
Client Version: version.Info{Major:"1", Minor:"9", GitVersion:"v1.9.6", GitCommit:"9f8ebd171479bec0ada837d7ee641dec2f8c6dd1", GitTreeState:"clean", BuildDate:"2018-03-21T15:21:50Z", GoVersion:"go1.9.3", Compiler:"gc", Platform:"darwin/amd64"}
Unable to connect to the server: dial tcp 192.168.99.100:8443: i/o timeout

# show current context
$ kubectl config current-context
minikube

# switch context
$ kubectl config use-context docker-for-desktop
Switched to context "docker-for-desktop".

# show kubectl version
$ kubectl version
Client Version: version.Info{Major:"1", Minor:"9", GitVersion:"v1.9.6", GitCommit:"9f8ebd171479bec0ada837d7ee641dec2f8c6dd1", GitTreeState:"clean", BuildDate:"2018-03-21T15:21:50Z", GoVersion:"go1.9.3", Compiler:"gc", Platform:"darwin/amd64"}
Server Version: version.Info{Major:"1", Minor:"9", GitVersion:"v1.9.6", GitCommit:"9f8ebd171479bec0ada837d7ee641dec2f8c6dd1", GitTreeState:"clean", BuildDate:"2018-03-21T15:13:31Z", GoVersion:"go1.9.3", Compiler:"gc", Platform:"linux/amd64"}
Now it’s a good time to know some more about current cluster, nodes, pods and namespaces. This will help to understand everything better!
# show cluster informations
$ kubectl cluster-info
Kubernetes master is running at https://localhost:6443
KubeDNS is running at https://localhost:6443/api/v1/namespaces/kube-system/services/kube-dns:dns/proxy

To further debug and diagnose cluster problems, use 'kubectl cluster-info dump'.

# show nodes informations
$ kubectl get nodes
NAME                 STATUS    ROLES     AGE       VERSION
docker-for-desktop   Ready     master    14m       v1.9.6

# show pod informations
$ kubectl get pods
No resources found.

# show namespaces informations
$ kubectl get namespaces
NAME          STATUS    AGE
default       Active    23m
docker        Active    21m
kube-public   Active    23m
kube-system   Active    23m
As you can see, everything is working fine. The system is now ready for usage. By the way, have a look on your Docker images!
# list current Docker images (optional)
$ docker images
...
Deploying the Kubernetes Web UI Dashboard
Finally we deploy the Kubernetes Web UI Dashboard on our new Kubernetes Master as a Pod in namespace kube-system. The Dashboard is not installed/deployed by default. Although everything is possible via command-line, it can help to better understand and analyze the system.
# create a resource from a file
$ kubectl create -f https://raw.githubusercontent.com/kubernetes/dashboard/master/src/deploy/recommended/kubernetes-dashboard.yaml
secret "kubernetes-dashboard-certs" created
serviceaccount "kubernetes-dashboard" created
role "kubernetes-dashboard-minimal" created
rolebinding "kubernetes-dashboard-minimal" created
deployment "kubernetes-dashboard" created
service "kubernetes-dashboard" created

# list pods in specific namespace
$ kubectl get pods --namespace=kube-system
NAME                                         READY     STATUS    RESTARTS   AGE
etcd-docker-for-desktop                      1/1       Running   0          46m
kube-apiserver-docker-for-desktop            1/1       Running   0          46m
kube-controller-manager-docker-for-desktop   1/1       Running   0          46m
kube-dns-6f4fd4bdf-f7pjw                     3/3       Running   0          47m
kube-proxy-c676q                             1/1       Running   0          47m
kube-scheduler-docker-for-desktop            1/1       Running   0          46m
kubernetes-dashboard-5bd6f767c7-f9w4j        1/1       Running   0          1m

# forward port to specific pod (Attention! Your pod may have a different name!)
$ kubectl port-forward kubernetes-dashboard-5bd6f767c7-f9w4j 8443:8443 --namespace=kube-system
Forwarding from 127.0.0.1:8443 -> 8443

# open Web UI Dashboard
$ open https://localhost:8443
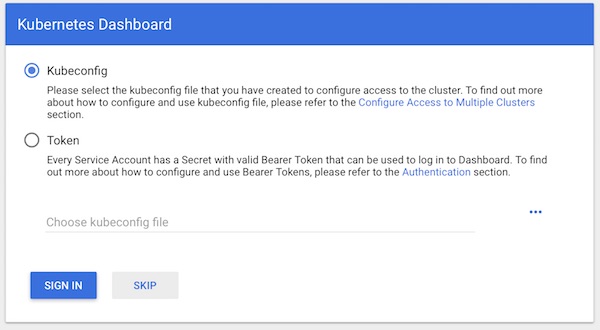
You can skip authentication and jump directly to the dashboard. This step should may give you a hint. Never ever do the same in production!
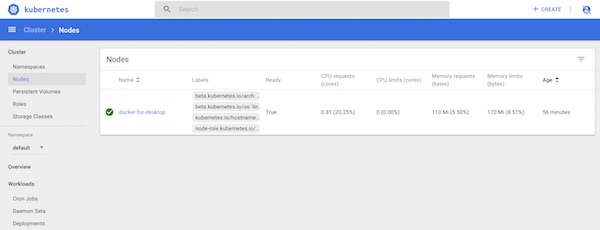
That’s it already! Have a look on created dashboard and get familiar with your new Kubernetes environment.