In this tutorial, I’d like to share a few ZAP API basics. This should make it possible for anyone to integrate ZAP into various pipelines.
Requirements
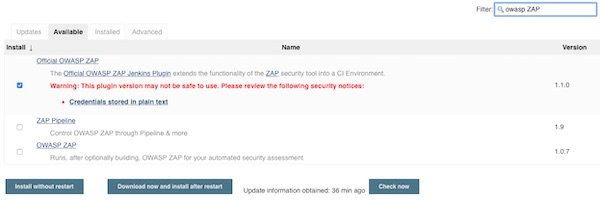
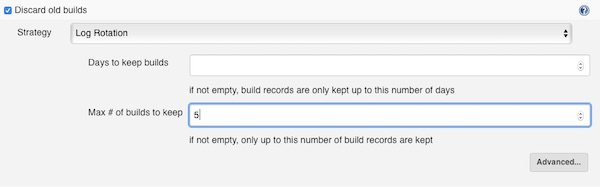
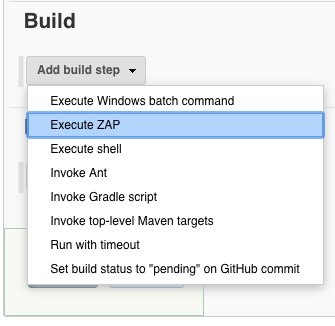
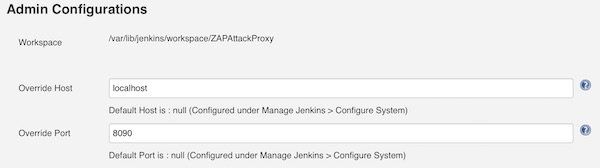
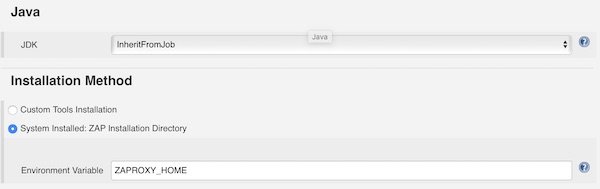
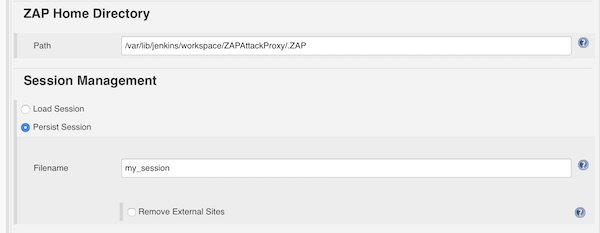
Minimum configuration of ZAP
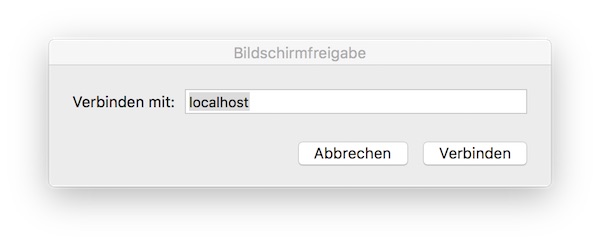
Start ZAP now, if you get asked for select the persistent session – just select option “No, I don’t want…” and press button “Start”.

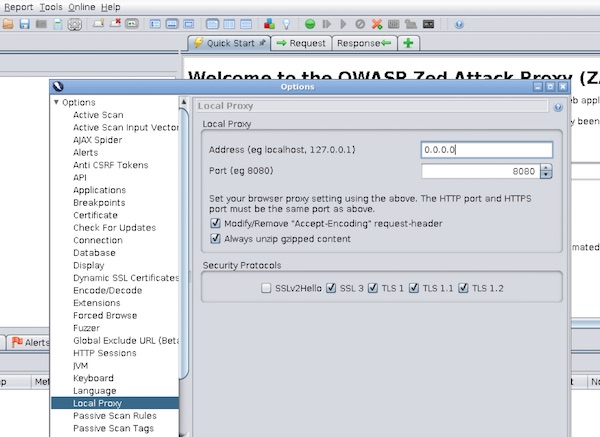
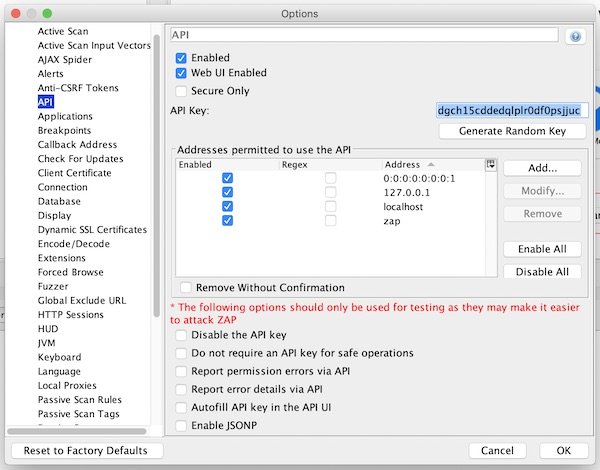
Now open “Preferences” and ensure that ZAP API is enabled.
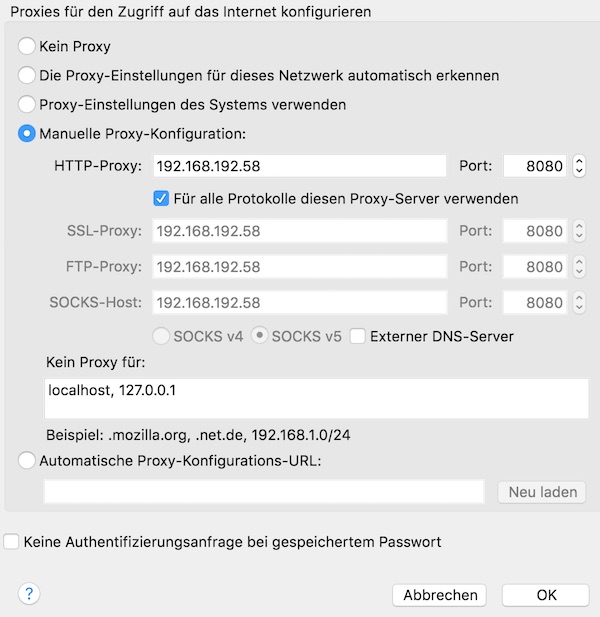
Our last action for configuration is to enable ZAP Proxy.

Start ZAP via command line
# show help (macOS)
$ /Applications/OWASP\ ZAP.app/Contents/MacOS/OWASP\ ZAP.sh -h

# show default directory (macOS)
$ ls -la ~/Library/Application\ Support/ZAP/

# start ZAP in daemon mode with specific port and apikey (macOS)
$ /Applications/OWASP\ ZAP.app/Contents/MacOS/OWASP\ ZAP.sh -daemon -port 8090 -config api.key=12345

# open ZAP API in browser
$ open http://localhost:8090/UI
Add URL (Site)
# add URL
$ curl -s "http://localhost:8090/JSON/core/action/accessUrl/?apikey=12345&url=https://www.webscantest.com&followRedirects=false" | jq .
Show ZAP Sites and Hosts
# list all sites
$ curl -s "http://localhost:8090/JSON/core/view/sites/?apikey=12345" | jq .

# list all hosts
$ curl -s "http://localhost:8090/JSON/core/view/hosts/?apikey=12345" | jq .
ZAP HTTP Sessions
# list all httpSession sites
$ curl -s "http://localhost:8090/JSON/httpSessions/view/sites/?apikey=12345" | jq .

# create new httpSession
$ curl -s "http://localhost:8090/JSON/httpSessions/action/createEmptySession/?apikey=12345&site=www.webscantest.com:443&session=session1" | jq .

# show active httpSession
$ curl -s "http://localhost:8090/JSON/httpSessions/view/activeSession/?apikey=12345&site=www.webscantest.com:443" | jq .
ZAP Spider scan
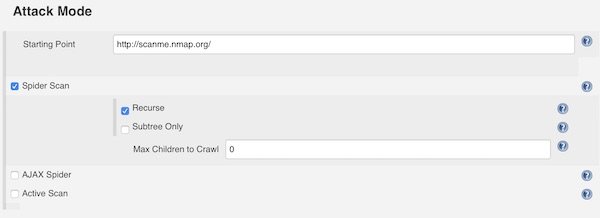
# start spider scan
$ curl -s "http://localhost:8090/JSON/spider/action/scan/?apikey=12345&zapapiformat=JSON&formMethod=GET&url=https://www.webscantest.com"

# show spider scan status
$ curl -s "http://localhost:8090/JSON/spider/view/status/?apikey=12345" | jq .
ZAP Context
# list all context
$ curl -s "http://localhost:8090/JSON/context/view/contextList/?apikey=12345" | jq .
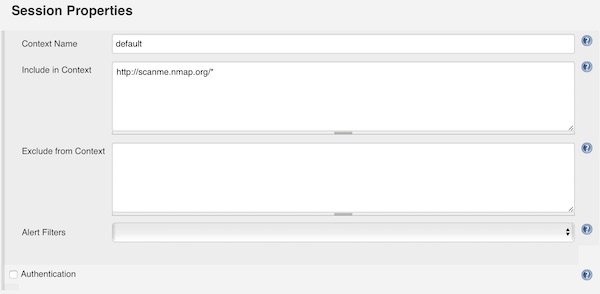
# create context
$ curl -s "http://localhost:8090/JSON/context/action/newContext/?apikey=12345&contextName=Default+Context" | jq .
# show specific context
$ curl -s "http://localhost:8090/JSON/context/view/context/?apikey=12345&contextName=Default+Context" | jq .
# add regex into includeInContext
$ curl -s "http://localhost:8090/JSON/context/action/includeInContext/?apikey=12345&contextName=Default+Context&ex=https://www.webscantest.com.*" | jq .
# list all includeRegexs
$ curl -s "http://localhost:8090/JSON/context/view/includeRegexs/?apikey=12345&contextName=Default+Context" | jq .ZAP Active scan
# start active scan
$ curl -s "http://localhost:8090/JSON/ascan/action/scan/?apikey=12345&zapapiformat=JSON&formMethod=GET&url=https://www.webscantest.com&recurse=&inScopeOnly=false&scanPolicyName=&method=&postData=&contextId="

# show active scan status
$ curl -s "http://localhost:8090/JSON/ascan/view/status/?apikey=12345" | jq .
ZAP alerts and reports
# list alert counts by url
$ curl -s "http://localhost:8090/JSON/alert/view/alertCountsByRisk/?apikey=12345&url=https://www.webscantest.com&recurse=True" | jq .

# list alerts by risk
curl -s "http://localhost:8090/JSON/alert/view/alertsByRisk/?apikey=12345&url=https://www.webscantest.com&recurse=True" | jq .

# show json report
$ curl -s "http://localhost:8090/OTHER/core/other/jsonreport/?apikey=12345" | jq .

# list all alerts
$ curl -s "http://localhost:8090/JSON/core/view/alerts/?apikey=12345" | jq .
ZAP shutdown
# shutdown
$ curl -s "http://localhost:8090/JSON/core/action/shutdown/?apikey=12345"